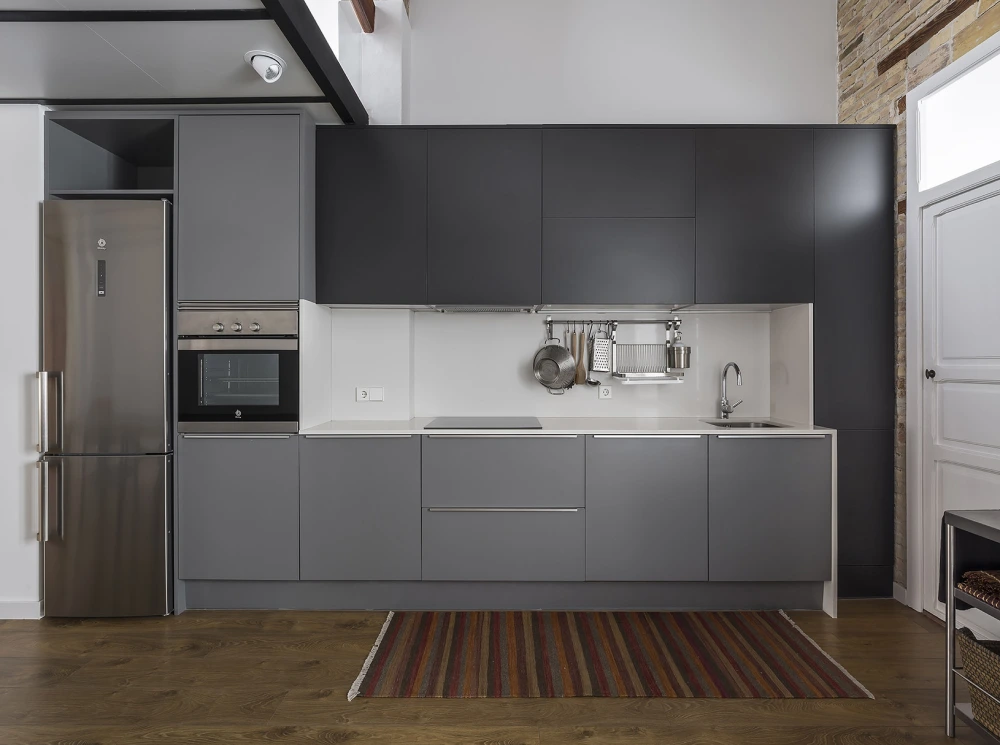
Handyman services make kitchen renovations simple, fast, and budget-friendly for everyday folks. They take care of all the details, from small fixes to major updates, turning tired kitchens into spots you love to use.
Why Pick Handyman Services
Handyman services stand out for kitchen projects because one skilled team handles everything. They tear out old cabinets, install new ones, and fix issues like dripping faucets or wonky dishwashers on the spot. No need to chase down different workers, which saves days of waiting and hassle.
These pros bring tools and know-how to keep things moving smoothly. In busy homes, this means less disruption—you cook dinner while they work in the background.

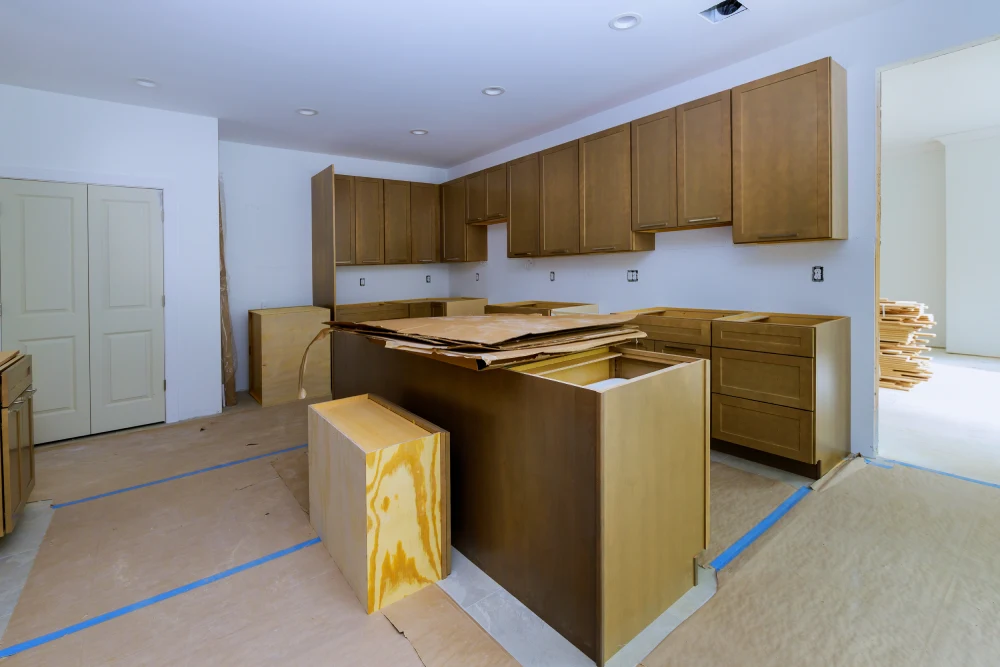
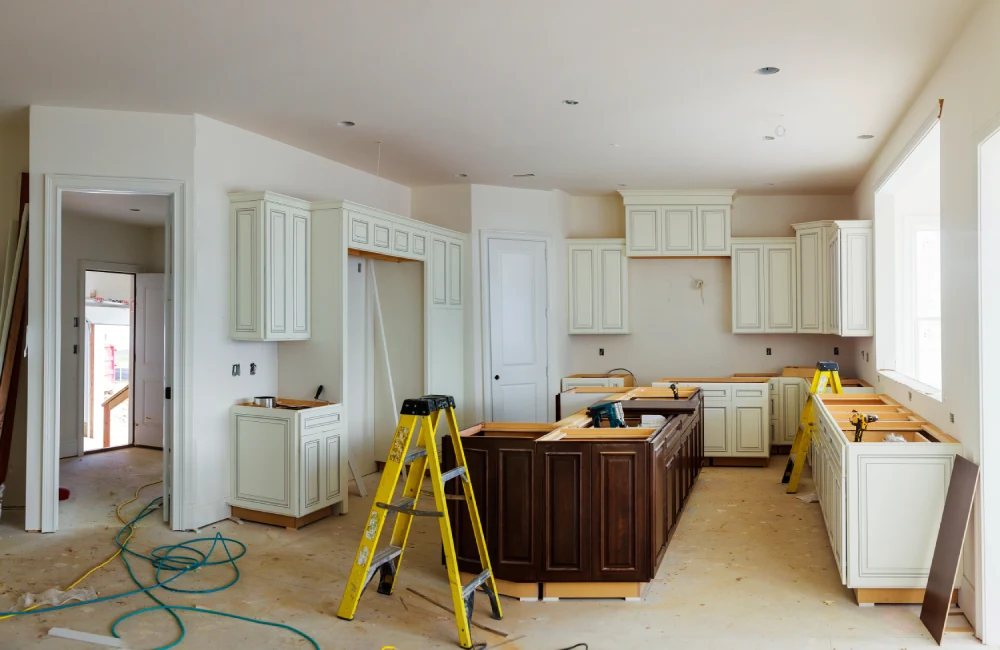
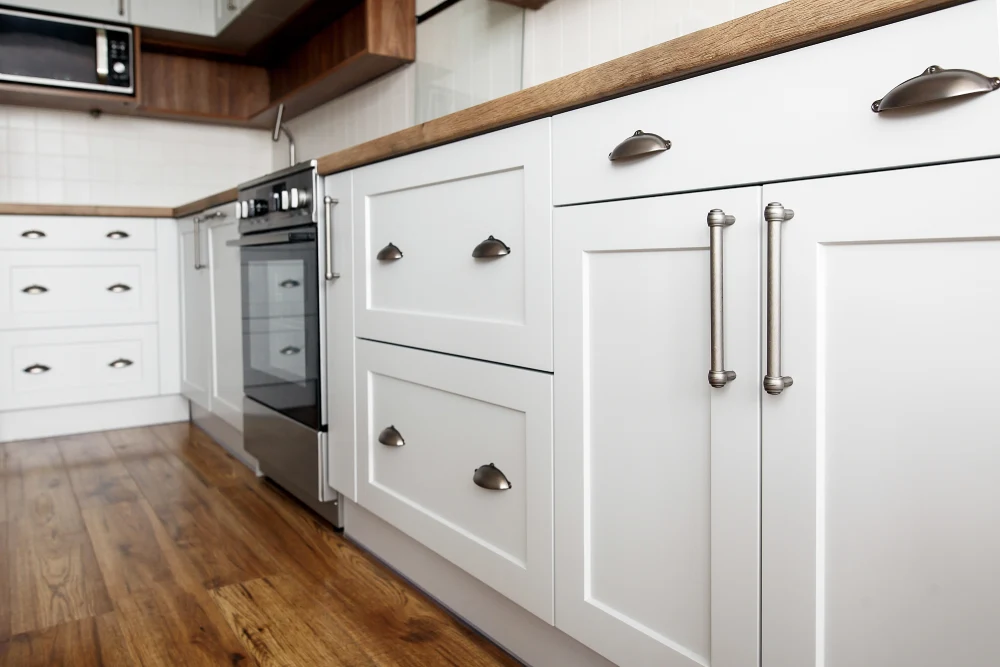
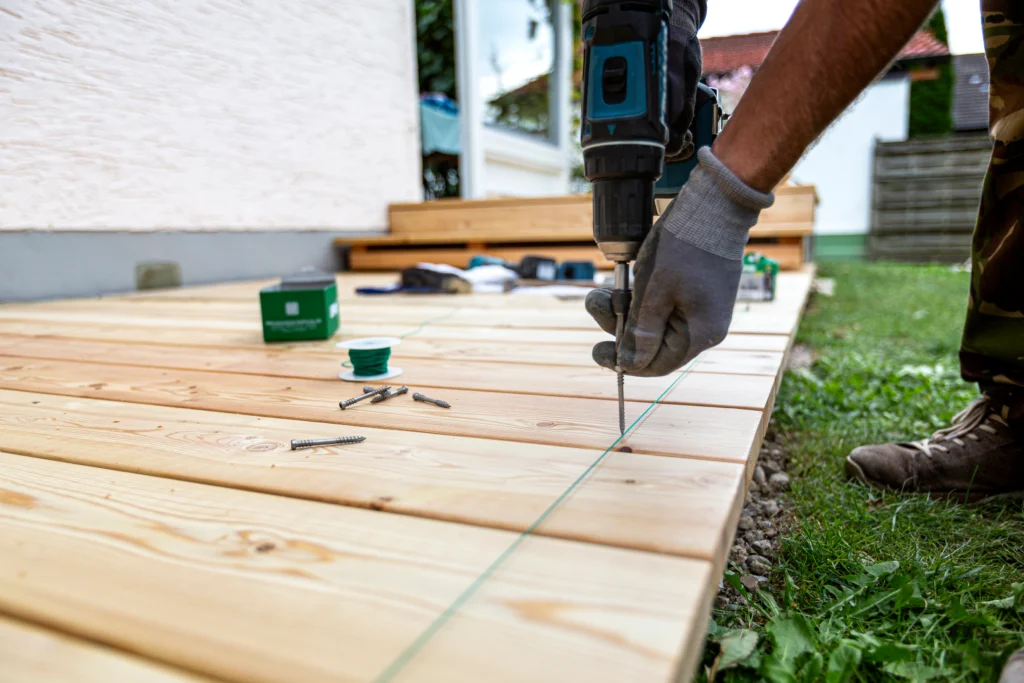
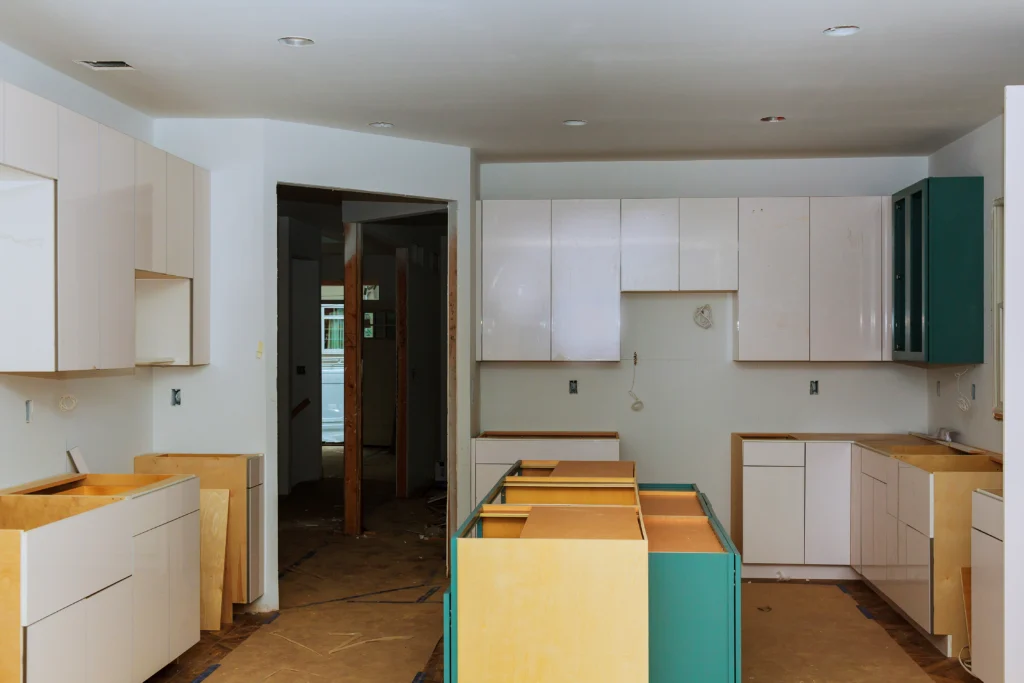
Way 1: Fast Furniture Assembly
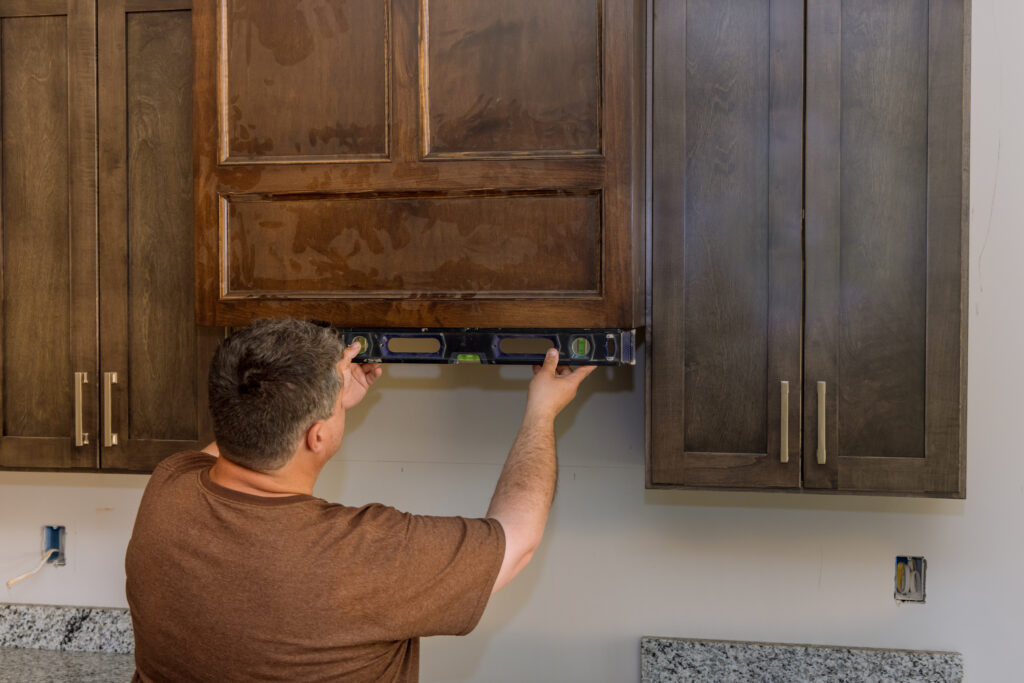
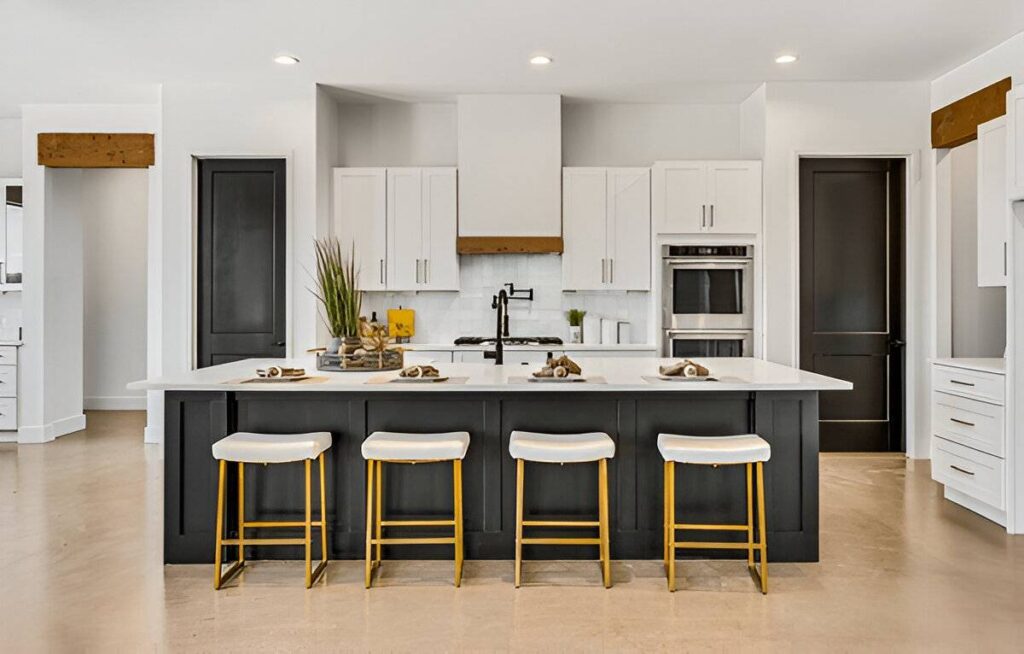
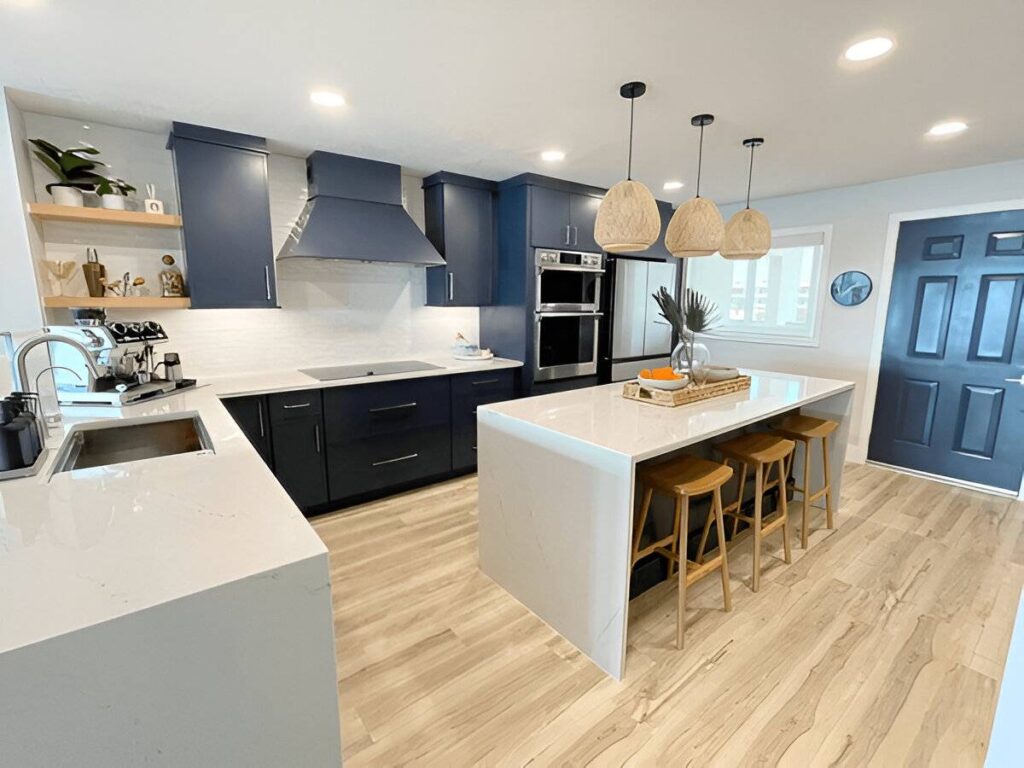
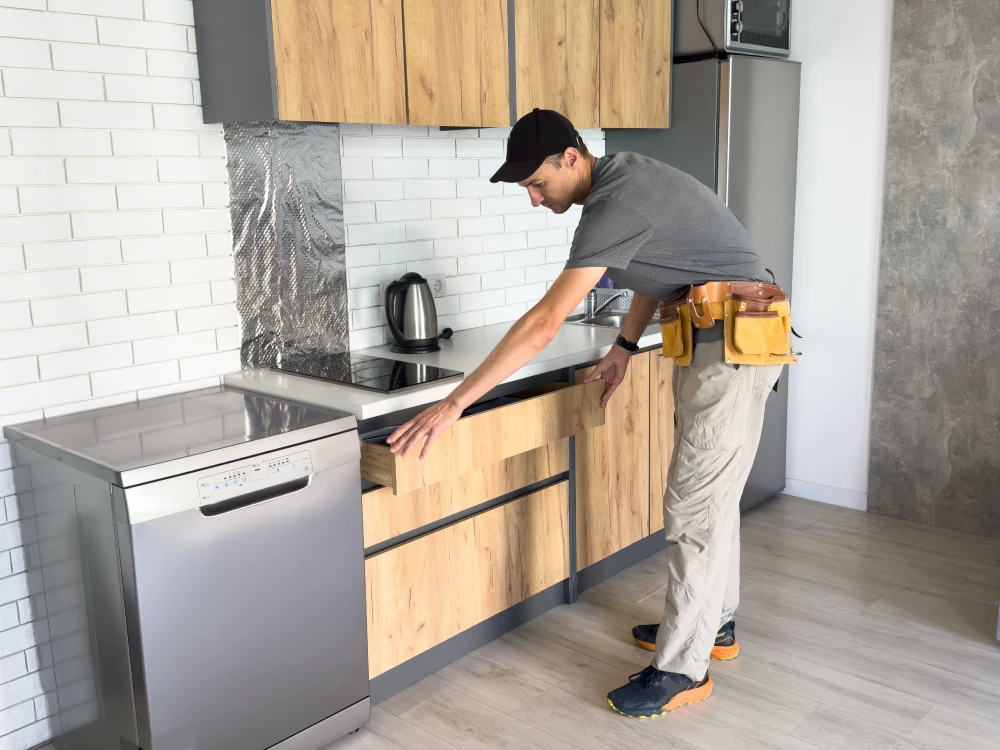
New cabinets or a kitchen island often come flat-packed. Handyman services handle furniture assembly quick and right, so doors hang straight and drawers slide easily. Skip the frustration of DIY where pieces end up crooked or scratched.
Think of coming home to a ready-to-use setup. A solid furniture assembly service protects your floors and walls too, using pads and levels for pro results every time.
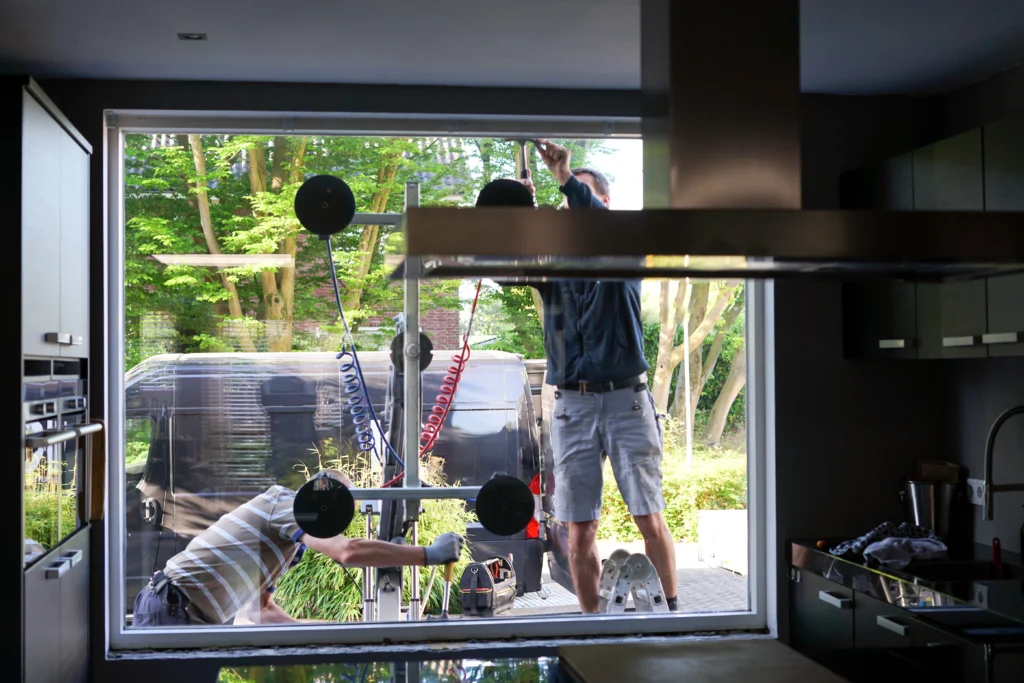
Way 2: Quick Home Repairs
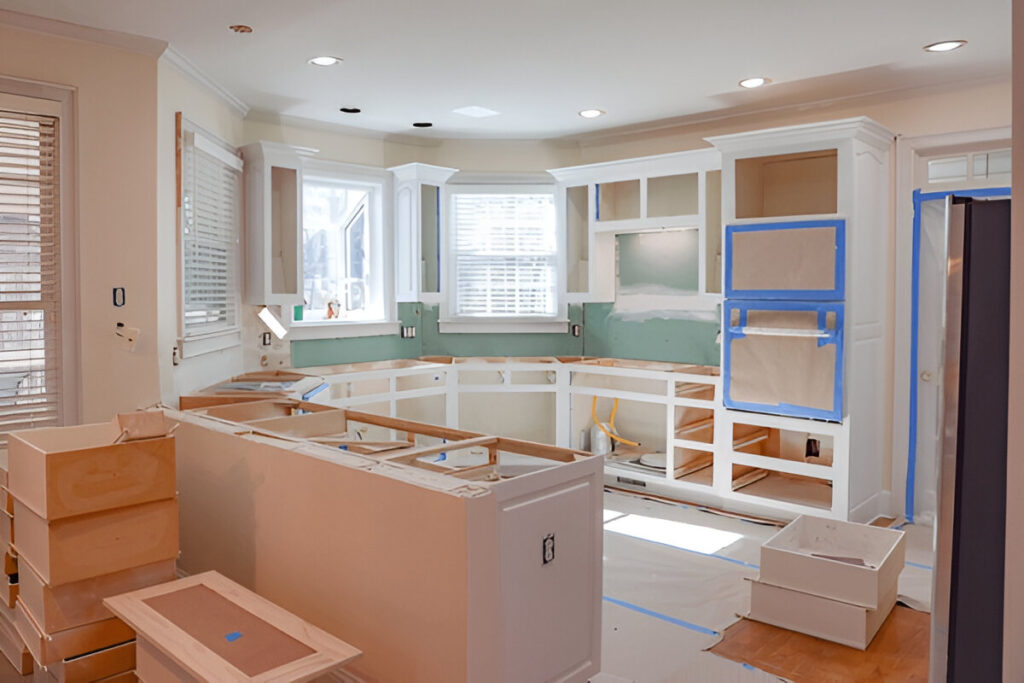
Mid-renovation surprises happen, like cracked tiles from old glue or loose sink mounts. Handyman services jump on home repairs fast, patching things up before they slow you down. They check for hidden problems, like weak supports, to keep safety high.
Local teams, such as handyman services Calgary, know area quirks and cut kitchen renovation costs by fixing early. This stops tiny glitches from turning into week-long headaches.
Way 3: Easy Home Maintenance
Handyman services weave in home maintenance during the job, sealing window gaps against drafts or clearing vent dust for clean air. Your new kitchen stays fresh longer, with fewer breakdowns down the road.
They test plumbing flows and electrical outlets too. It’s like giving your space a full health check while upgrading.
Way 4: Fix Appliances Fast
A busted oven or fridge can freeze your whole plan. Handyman services offer repair of home appliances right there, spotting faults and swapping parts without delay. Bundle it with other work to keep bills low—no separate service calls.
| Fix Type | Cost Range | Time with Handyman Services |
| Dishwasher | $150-$400 | 1 day quick |
| Oven Seal | $100-$300 | Same day |
| Fridge Fix | $75-$250 | No extra trips |
This table shows real savings in time and cash.
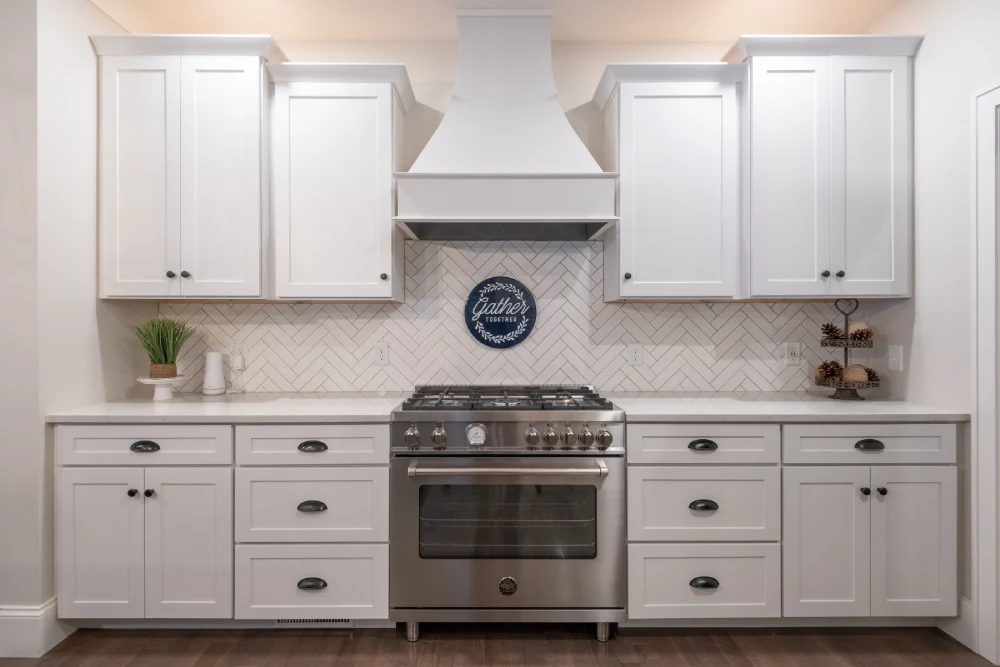
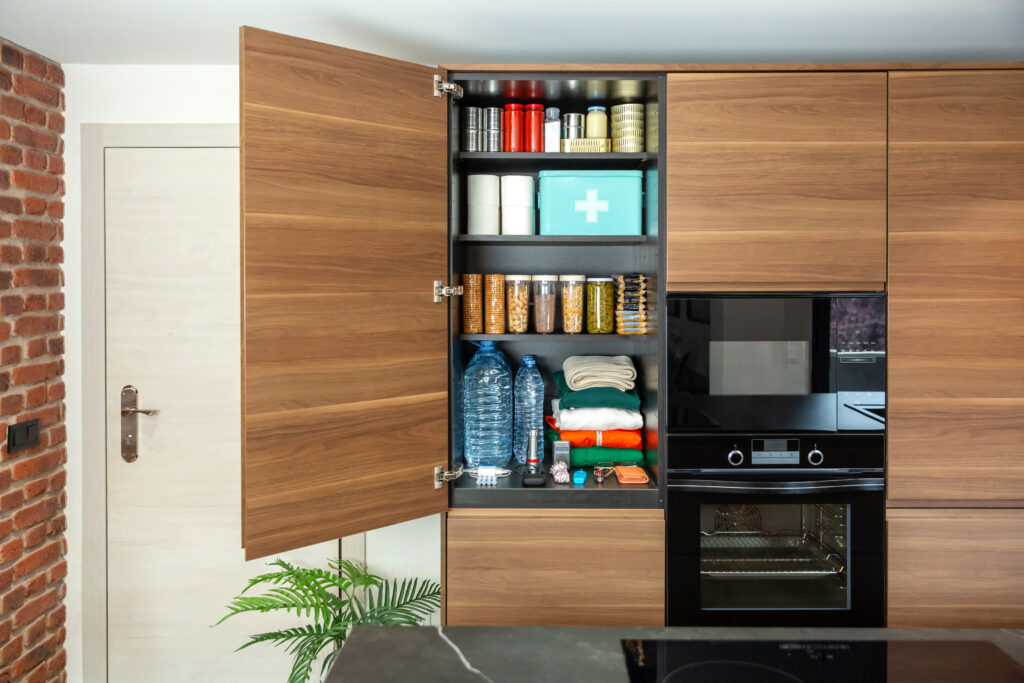
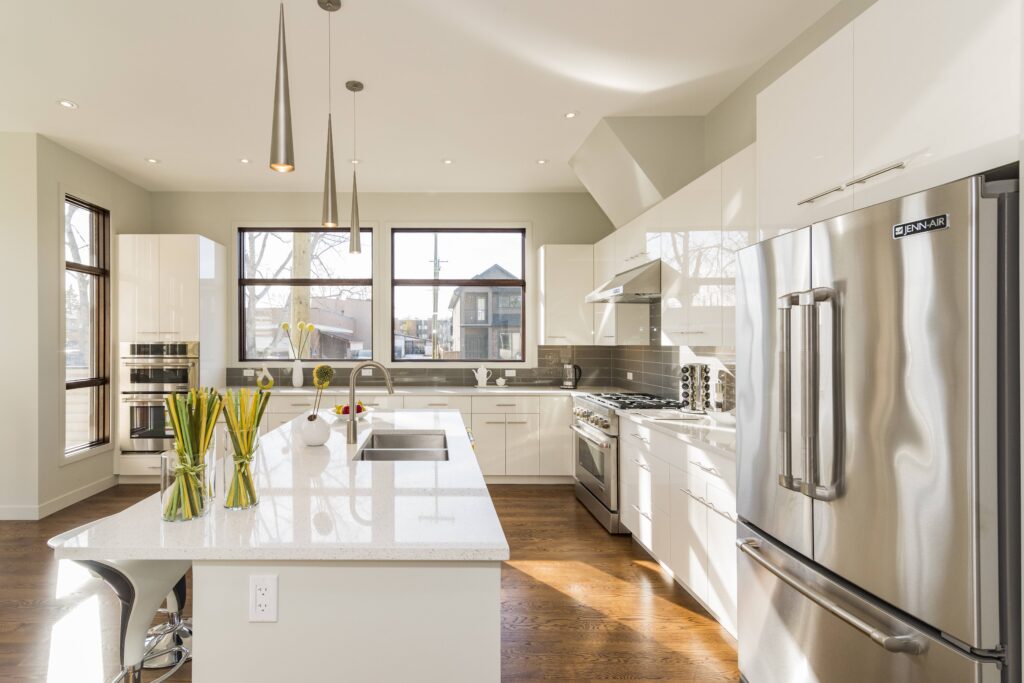
Way 5: Smart Kitchen Home Improvement
Handyman services level up simple changes into cool kitchen home improvement, like slide-out spice racks or soft LED under-cabinet lights. They listen to your needs and add tips for better flow, such as wider walk paths.
Home value jumps without the steep tags of kitchen remodel contractors. It feels custom but stays practical for family meals or quick breakfasts.
Handyman services blend looks and everyday ease perfectly.
Way 6: Cut Kitchen Renovation Cost
Bills scare most people off renovations. Handyman services control kitchen renovation cost by multi-tasking—tiles today, cabinet paint tomorrow. Full overhauls average $15,000-$40,000, but they shave 20-30% through smart pacing and no middlemen.
Get clear quotes first, listing materials and hours. Track progress weekly to stay on budget.
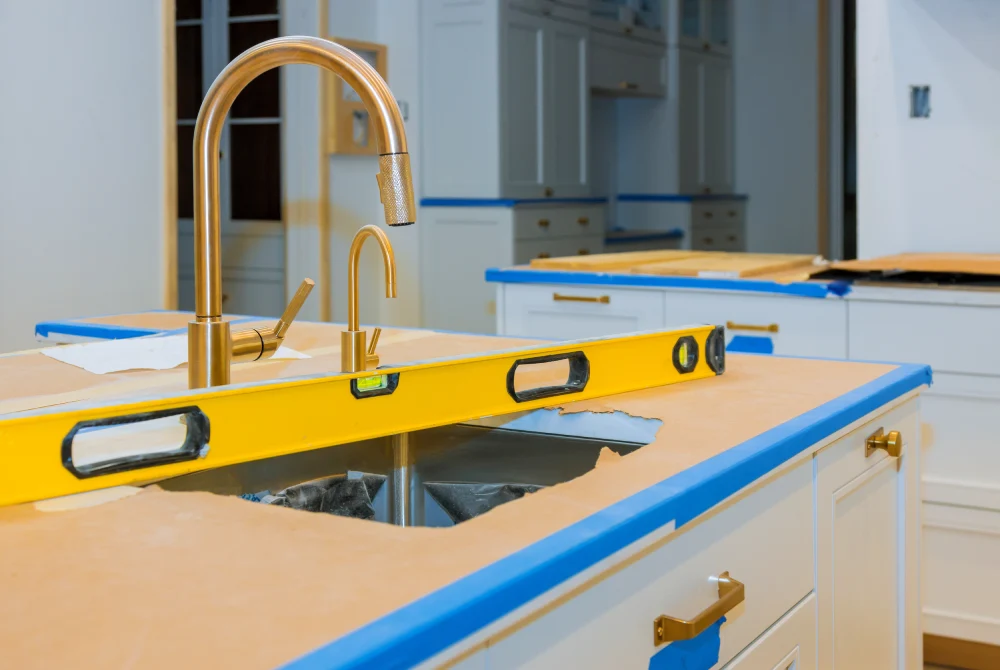
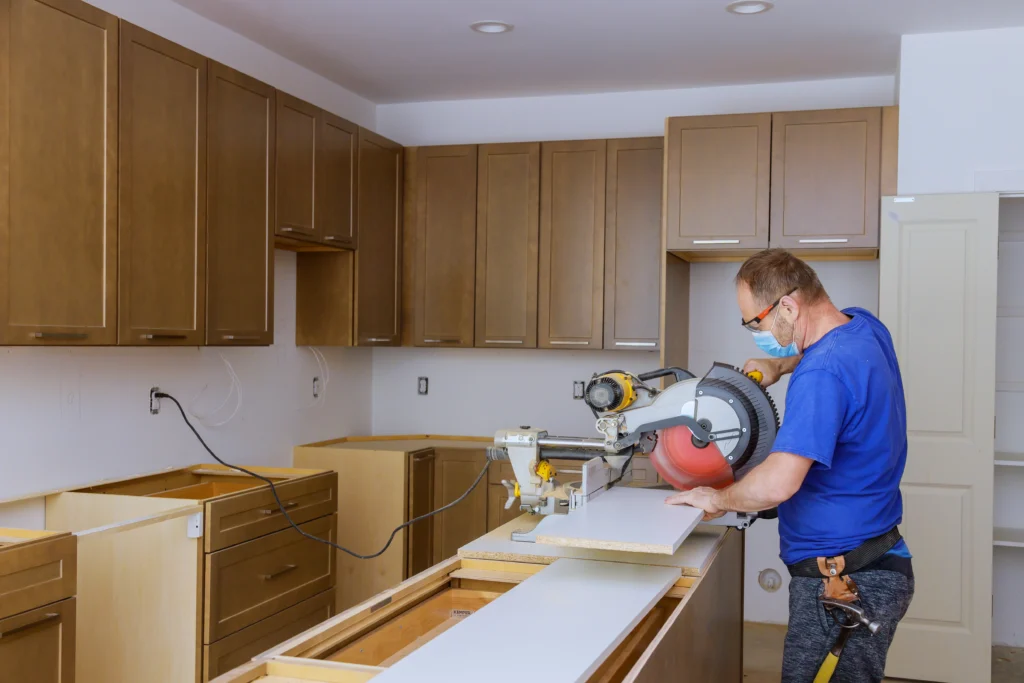
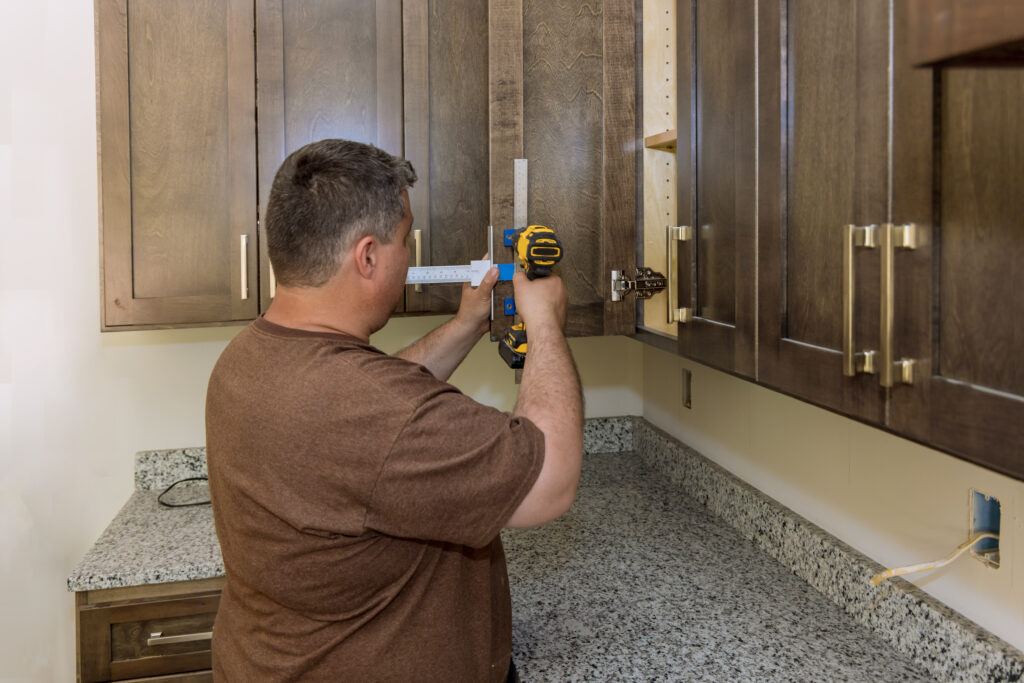
Way 7: Finish with Home Assembly Services
Handyman services close out with home assembly services for final bits like door handles, shelves, or light fixtures. Everything lines up exactly, meeting local codes—key in places like Calgary.
They clean up too, leaving you with a spotless, ready kitchen. No loose ends or trips back.
Cost Table
| Job Part | Handyman Services Cost | Contractor Cost | Savings |
| Furniture Assembly | $200-$500 | $400-$800 | 40% |
| Home Repairs | $100-$300/day | $250-$500/day | 30-50% |
| Appliance Fix | $150-$400 | $300-$600 | 25-40% |
| Full Kitchen | $10k-$25k | $20k-$50k | 30-50% |
Numbers prove handyman services deliver big value.
Choose Good Home Improver
Hunt for licensed home improver crews with strong online reviews and photos of past kitchens. Ask about kitchen home improvement jobs they’ve done and if they offer fixes if something goes wrong. Shop three quotes to spot the best fit.
Check insurance too—peace of mind matters.
Top 5 Tips for Smooth Renovations
- Plan ahead with handyman service: Sketch your dream kitchen layout first, noting counter space and appliance spots. Handyman service refine it to fit your home’s flow, dodging costly changes later.
- Pick durable materials: Go for easy-clean laminates or vinyl floors that handle spills. Handyman service advise on budget picks that look high-end without the price tag.
- Prep the space daily: Clear counters and cover floors before work starts. This lets handyman service move fast, finishing jobs quicker and cleaner.
- Talk needs clearly: Share must-haves like extra outlets or soft-close drawers upfront. Handyman service tailor every step to match your family routine.
- Check work as you go: Test sinks or lights right after install. Handyman service tweak on spot, ensuring zero surprises at the end.
Conclusion:
Poor planning mixes styles wrong, like modern tops with old floors. Handyman service guide picks, suggesting tough laminates over fancy stone if cash is tight. Chat daily on progress and changes. Rushed jobs skip details like even grout lines. Take time to measure twice.
Frequently Asked Questions
What costs for kitchen work by handyman service?
Handyman service charge $100-$350 a day based on tasks. Full remodels run $10k-$25k, way under $20k-$50k for full crews. Location and materials shift it—grab a few quotes
How long for remodel with handyman service?
Plan 2-6 weeks with handyman service, not 1-3 months like big teams. They overlap jobs, building while paint dries, to speed it up
Do handyman service fix appliances in remodel?
Yes, they tackle dishwashers, ovens, fridges on site. Saves $200+ per extra visit with parts ready
Cheaper than kitchen remodel contractors?
Handyman service trim 30-50% since one crew covers all—no sub fees or waits
Home maintenance in kitchen jobs?
Handyman service seal cracks, clean vents, test pipes during upgrades. Builds lasting strength
Handyman service Calgary code safe?
Locals follow power, pipe rules and pull permits as needed for safe work.
Lower kitchen renovation cost how?
Refinish old cabinets, group furniture assembly, fix appliances together. Cuts 20-30% easy.
Why does furniture assembly matter?
Sets up shelves, islands exact, no wobbles or DIY redo. Blends into kitchen home improvement.
Custom kitchen home improvement ok?
Yes, add racks or lights your style, affordable with handyman services skills.
Home assembly services for end?
Perfect fit for knobs, fixtures fast. Handyman services wrap it ready to enjoy.